

Tired of that leaky faucet that sounds like a tap-dancing competition every time you brush your teeth? It’s time to take matters into your own hands and show that stubborn fixture who’s boss. Changing a bathroom faucet may seem daunting, but with a little guidance, it can be as easy as pie—or at least easier than figuring out how to fold a fitted sheet.
Tools Needed for Changing a Bathroom Faucet
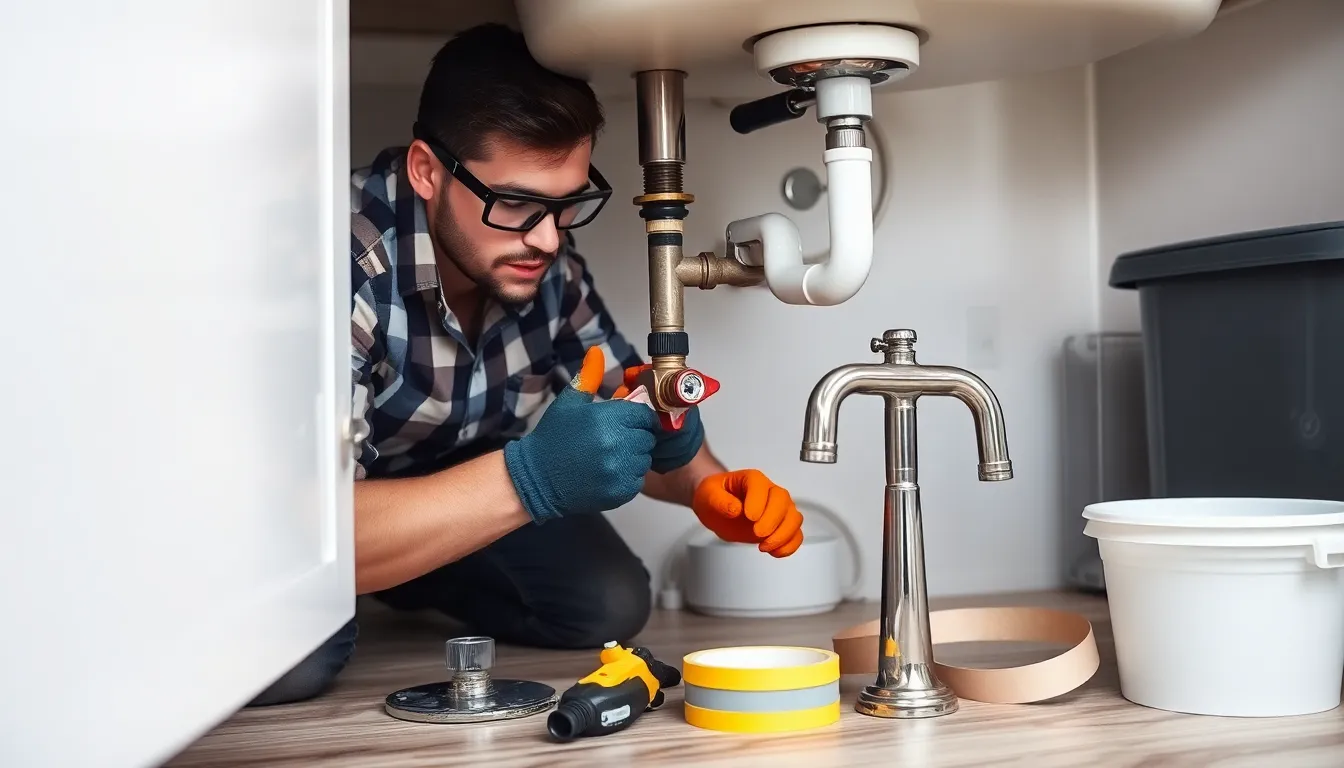
Changing a bathroom faucet requires certain tools to ensure a smooth process. Having the right tools on hand can make this task efficient.
Essential Tools
Adjustable wrenches grip nuts and bolts securely. Basin wrenches reach tight spaces under the sink. Screwdrivers with flat heads and Phillips heads accommodate various screws. Plumber’s tape prevents leaks at threaded connections. A bucket or towel catches water during the change. Safety goggles protect eyes from debris.
Optional Tools
Power drills simplify the removal of old fixtures. Pipe wrenches assist in loosening stubborn pipes. A flashlight illuminates dark areas under the sink. Level tools help ensure proper faucet alignment. Rags or cloths keep work areas clean and dry. Pipe fittings accommodate specific plumbing needs.
Preparing for the Faucet Change
Preparation sets the stage for a successful faucet change. Before starting the work, ensure all necessary steps are followed to avoid complications.
Turning Off the Water Supply
Shutting off the water supply is the first critical step. Locate the shut-off valves under the sink and turn them clockwise until they stop. If valves are not accessible, turn off the main water supply for the house. Once the water supply is off, open the tap to drain any remaining water in the pipes. This step prevents spills and unwanted mess during the faucet replacement.
Gathering Materials
Collecting the required materials enhances efficiency. Essential items include the new faucet, adjustable wrench, basin wrench, plumber’s tape, and a towel or bucket for drainage. Safety goggles protect the eyes from debris or splashes. Optional materials like rags, a flashlight for visibility, and a level tool to ensure the faucet is straight can also be beneficial. Assemble everything in a convenient location to streamline the process.
Removing the Old Faucet
Removing the old faucet requires a few careful steps. Start by ensuring the area is well-prepared for the task.
Disconnecting the Water Lines
First, locate the water supply lines connected to the faucet. Shut off the water supply at the valves under the sink. Next, use an adjustable wrench to unscrew the nuts holding the water lines in place. It’s essential to have a bucket nearby to catch any residual water. After disconnecting the lines, check for any leaks or corrosion, which may indicate further plumbing issues.
Unscrewing the Faucet
After disconnecting the water lines, it’s time to unscrew the faucet. Look for the screws securing the faucet to the sink. Some faucets may have clips or mounting brackets as well. Use a screwdriver to loosen and remove these screws. Be cautious during this step, as the faucet might be heavy. Once unscrewed, gently lift the faucet out from the sink. This process facilitates a clean area for installing the new faucet.
Installing the New Faucet
Installing the new faucet becomes straightforward with the right steps. Following the removal of the old faucet, the next task involves setting the new faucet securely in place.
Setting the Faucet in Place
First, align the new faucet with the holes in the sink. Carefully insert the faucet’s base through the hole to keep it stable. After positioning, secure it using the included mounting hardware, which typically consists of nuts and washers. Hand-tightening the nuts works best to avoid over-tightening and damaging the sink. Check the faucet’s alignment before fully tightening everything to ensure it sits perfectly. Ensuring proper alignment allows for even water flow and effective operation.
Connecting the Water Lines
Next, attach the water supply lines to the new faucet. Start by securing the cold and hot water supply lines to their respective connectors. Use an adjustable wrench to tighten the connections firmly, but avoid excessive force. After connecting, inspect for any signs of leaks at the junctions. Once everything feels secure, turn on the shut-off valves slowly to restore water flow. Testing the faucet will confirm that the installation was successful and leaks are absent.
Testing the New Faucet
Testing the new faucet ensures a successful installation. Following these steps verifies both functionality and leak-free performance.
Checking for Leaks
To check for leaks, start by observing the connections. Inspect all supply lines and fittings for moisture. A leak often appears as water pooling around base connections or under the sink. Turn the faucet on, allowing both hot and cold water to flow. Pay attention to unusual sounds or dripping water. If any leaks are detected, tighten the connections with an adjustable wrench. In case the leaks persist, consider using plumber’s tape for a secure fit. It’s essential to resolve leaks immediately to prevent water damage.
Ensuring Proper Functionality
Ensuring functionality involves verifying water flow and temperature. Turn the faucet on at varying speeds to assess flow consistency. Adjust the temperature settings to ensure hot and cold water reach desired temperatures quickly. Observe the handle movement; it should operate smoothly without resistance. If issues arise, check the connection alignment and hose positioning. Proper installation guarantees a functional faucet that meets daily needs. Taking these steps confirms that the new faucet works effectively in the bathroom.
Changing a bathroom faucet can be a rewarding DIY project that enhances both functionality and aesthetics. By following the outlined steps and preparing adequately, anyone can tackle this task with confidence. With the right tools and safety precautions in place, the process becomes straightforward and manageable. Once the new faucet is installed and tested, it not only resolves leaks but also adds a fresh look to the bathroom. Embracing this home improvement task empowers homeowners to take control of their space while potentially saving on plumbing costs. It’s a small effort that can lead to significant satisfaction and improved daily experiences.