Google’s Nest Learning Thermostat has been a household name in smart climate control since its debut, but the 4th generation model represents more than just an incremental update. Released in 2024, this thermostat brings a redesigned interface, improved sensors, and deeper integration with modern smart home ecosystems. For homeowners considering the upgrade, or installing their first smart thermostat, understanding what sets this model apart is essential. Whether you’re looking to cut energy bills, simplify HVAC management, or modernize an older system, the Nest 4th Gen delivers practical improvements worth evaluating.
Table of Contents
ToggleKey Takeaways
- The Nest 4th generation thermostat features a larger high-resolution display, improved sensors, and Matter support for seamless integration with Apple HomeKit and Amazon Alexa ecosystems.
- Smart learning capabilities automatically build custom heating and cooling schedules based on your habits within 1-2 weeks, with AI-driven energy insights providing actionable recommendations for peak-rate adjustments and efficiency improvements.
- DIY installation is straightforward for most single-stage systems and takes about an hour; always verify compatibility first and ensure proper power restoration before setup begins.
- Real-world energy savings typically range from 10-12% on heating and 15% on cooling, with payback periods of 1-3 years depending on your previous thermostat type and available utility rebates of $50-$100.
- Geofencing and Home/Away Assist automatically adjust settings when you leave or return home, while optional Nest Temperature Sensors allow room-specific comfort prioritization in multi-zone homes.
What Makes the Nest 4th Gen Different from Previous Models
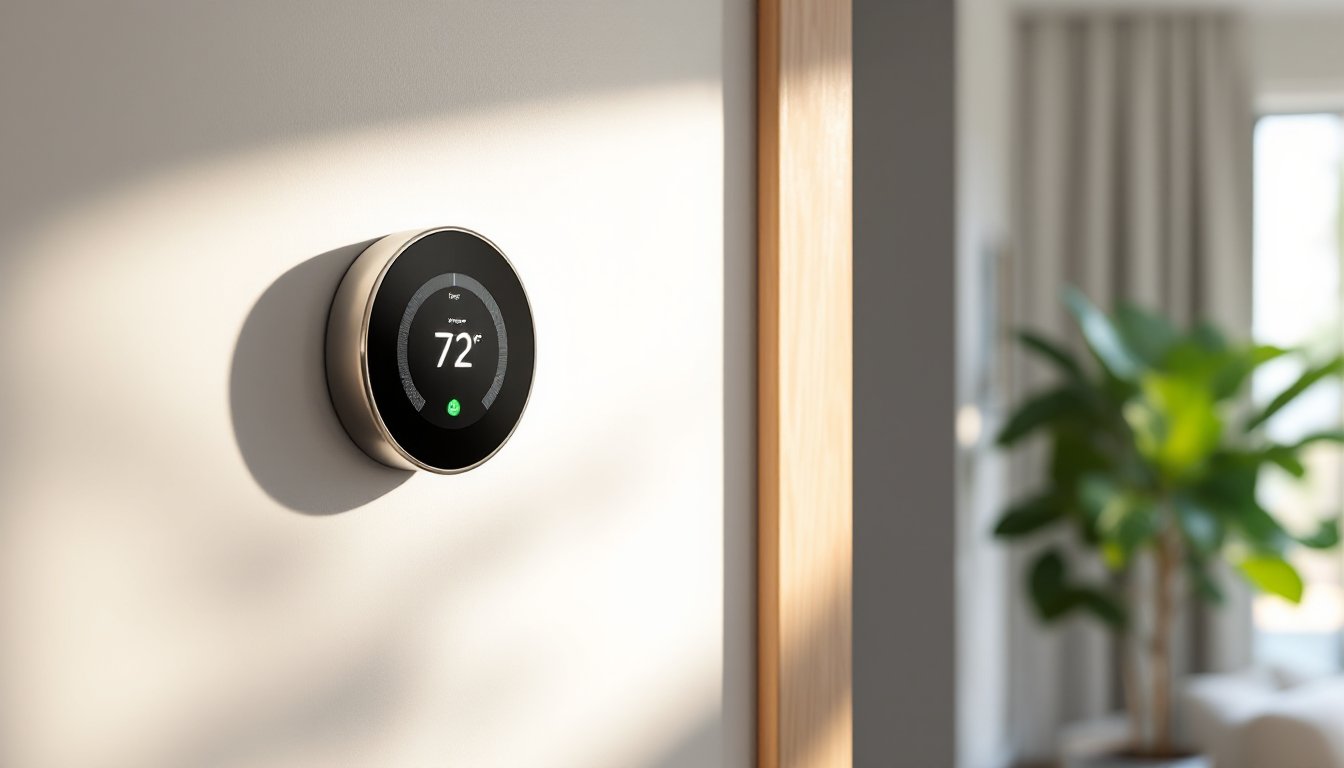
The 4th generation Nest ditches the smaller display of the 3rd gen in favor of a larger, higher-resolution screen that improves readability from across the room. The display now shows more detailed information at a glance, including current temperature, target settings, and energy usage trends without requiring interaction.
Physically, the unit has a slimmer profile and refined design with a borderless glass face, making it less obtrusive on the wall. The color options expanded to include polished metal finishes beyond the original stainless steel, allowing better coordination with modern interiors.
Under the hood, Google upgraded the internal sensors. The 4th gen includes a more accurate temperature sensor and improved humidity detection, which translates to better climate control in multi-zone homes or rooms with inconsistent airflow. The motion-sensing Farsight feature, which lights up the display when you walk by, has an extended detection range compared to earlier models.
Perhaps the biggest functional change: Matter support. This allows the thermostat to communicate with a broader range of smart home platforms beyond Google’s ecosystem, including Apple HomeKit and Amazon Alexa, without requiring workarounds or third-party hubs.
Key Features That Set This Smart Thermostat Apart
The Nest 4th Gen isn’t just about looks, it packs several features that separate it from both its predecessors and competitors.
Smart Schedule remains the core functionality. The thermostat learns your heating and cooling preferences over the first week or two, then builds a custom schedule. If you typically lower the temperature at 10 p.m. and raise it at 6 a.m., the Nest picks up on that pattern and automates it. You can override or edit the schedule anytime via the Google Home app.
AI-driven energy insights have improved significantly. The system now provides more granular recommendations, such as suggesting slight temperature adjustments during peak utility rate hours or flagging unusual runtime patterns that could indicate HVAC inefficiency or maintenance needs. Independent testing by reviewers analyzing the AI features confirms these insights can lead to measurable savings.
Geofencing uses your smartphone’s location to adjust settings when you leave or return home. If everyone leaves for work, the thermostat enters Eco mode automatically, reducing energy waste. When the first person heads home, it resumes the regular schedule.
The integrated sensor network allows pairing with optional Nest Temperature Sensors (sold separately) to prioritize specific rooms. If you install a sensor in the bedroom, the thermostat can focus on keeping that room comfortable at night while letting the living room temperature drift a few degrees.
Home/Away Assist combines motion detection, phone location, and connected device activity to determine occupancy more accurately than basic motion sensing alone. This reduces false triggers and ensures the system doesn’t stay in “home” mode when the house is actually empty.
Installation Guide: DIY Setup Step-by-Step
Installing the Nest 4th Gen is straightforward for most single-stage heating and cooling systems, but always check compatibility first using Google’s online tool or the label on your existing thermostat.
Before you start:
- Turn off power to your HVAC system at the breaker. Verify it’s off by attempting to turn on heating or cooling at the old thermostat.
- Take a photo of your existing thermostat wiring before disconnecting anything. Label each wire with the terminal letter (R, C, Y, W, G, etc.) using the included stickers.
- Safety note: If you’re uncomfortable working with low-voltage wiring or your system uses high-voltage connections (uncommon but possible in some baseboard or radiant systems), hire an HVAC tech.
Installation steps:
- Remove the old thermostat faceplate and unscrew the backplate from the wall.
- Thread the wires through the center of the Nest base and mount the base to the wall using the included screws and anchors. Use a level, an off-kilter thermostat is immediately noticeable.
- Connect each labeled wire to the corresponding terminal on the Nest base. Push firmly until the release tab clicks. Most systems use 4-5 wires: if you have a C-wire (common wire), connect it to the C terminal. If not, the Nest can often draw power from the other wires, but a C-wire improves reliability.
- Snap the display onto the base until it clicks into place.
- Restore power at the breaker and follow the on-screen setup prompts.
Common wiring scenarios:
- No C-wire: The Nest can usually power itself via “power stealing” from the R and other wires, but some older systems may require a C-wire adapter (included in some kits) or installing a new 18/5 thermostat wire from the furnace.
- Heat pump systems: These typically use O or B wires for reversing valves. The Nest setup wizard will ask about your system type and configure it automatically.
- Dual-fuel or multi-stage systems: The Nest 4th Gen supports these, but configuration requires more care. Reference your HVAC manual or consult a pro if uncertain.
After installation, the thermostat will run system checks to verify all connected equipment responds correctly. This takes about 5 minutes.
Programming and Smart Learning Capabilities
The Nest’s appeal lies in minimal manual programming. During the first 1-2 weeks, make manual temperature adjustments as you normally would. The thermostat logs these changes along with the times they occur, then builds a schedule reflecting your habits.
You can review and edit the auto-generated schedule in the Google Home app. Tap the thermostat, select “Schedule,” and you’ll see a week-view grid. Drag temperature points to adjust timing or add new setpoints. This is useful if the learning period captured atypical behavior (e.g., you were home sick or had guests).
Manual overrides are simple: turn the outer ring on the thermostat or adjust the temperature in the app. The system treats this as a temporary change and returns to the schedule at the next programmed setpoint unless you explicitly modify the schedule.
The Eco mode is a manually or automatically activated state that keeps the home at a wider temperature range to conserve energy. Instead of maintaining 72°F, Eco mode might allow the temperature to drift between 62°F and 76°F. You set the Eco range in the app based on comfort tolerance.
The learning algorithm improves over time. If you consistently override the schedule on Fridays, the Nest eventually adjusts Friday’s programming. Detailed analysis by experts testing the smart features shows the system adapts faster than previous generations, typically reaching optimal performance within 10-14 days rather than 3-4 weeks.
Energy Savings and Long-Term Cost Benefits
Google claims the Nest Learning Thermostat can save 10-12% on heating bills and 15% on cooling, based on internal studies. Real-world results vary depending on prior thermostat usage, home insulation, HVAC efficiency, and local climate.
The savings come from multiple sources:
- Eliminating unnecessary runtime: Many homeowners forget to adjust manual thermostats when leaving for work or going to bed. The Nest’s schedule and geofencing prevent heating or cooling an empty house.
- Optimized cycling: The thermostat learns how long your HVAC system takes to reach target temperature and starts heating or cooling earlier or later accordingly, avoiding overshooting and wasted energy.
- Energy reports: Monthly emails break down runtime, comparing your usage to similar homes and offering specific tips.
At a retail price around $280, the payback period depends on your existing setup. If replacing a non-programmable thermostat and your monthly HVAC costs run $150, a 12% savings equals $18/month or $216 annually, just over one year to break even. Replacing an existing programmable thermostat yields smaller incremental savings, extending payback to 2-3 years.
Don’t overlook utility rebates. Many power companies offer $50-$100 rebates for installing qualifying smart thermostats. Check your utility’s website or call their energy efficiency department. Some programs require enrollment in demand response, which allows the utility to make minor temporary adjustments during peak load events in exchange for additional credits.
Compatibility With Your Home’s HVAC System
The Nest 4th Gen works with most forced-air systems (gas, electric, or oil furnaces), heat pumps, boilers with zone valves, and central air conditioning. It supports up to 3 stages of heating, 2 stages of cooling, and auxiliary heat.
Systems that work:
- Single-stage and multi-stage furnaces
- Central A/C units
- Air-source and ground-source heat pumps
- Radiant systems with a relay or zone controller
- Dual-fuel setups (heat pump + furnace backup)
Systems that don’t work or require workarounds:
- Proprietary systems using communication protocols (some Carrier Infinity, Lennox iComfort, Trane ComfortLink). These require their brand-specific thermostats.
- Line-voltage systems (120V or 240V baseboard heaters, electric radiators). These need a line-voltage thermostat or a relay adapter.
- Millivolt systems without a C-wire (some older gas fireplaces and wall furnaces). A 24V transformer can sometimes be added.
Google provides a compatibility checker tool that asks for photos of your existing wiring and system details. Use this before purchasing.
Multi-zone systems: If your home has multiple thermostats controlling different zones, you’ll need a Nest for each zone. They can be grouped in the app for coordinated control.
Professional installation: Most HVAC companies charge $75-$150 for smart thermostat installation if you’re not confident in DIY. This is worthwhile for complex systems or if you need a C-wire run from the furnace, which requires working inside the air handler and running new wire through walls or the attic.
Conclusion
The Nest 4th Generation thermostat refines an already solid platform with meaningful improvements, better sensors, a clearer display, and broader smart home compatibility. For DIYers comfortable with basic wiring, installation is a manageable weekend task. The learning features genuinely reduce energy waste, and the payback period makes sense for most households, especially when factoring in utility rebates. If your HVAC system is compatible and you’re looking to modernize climate control without ongoing subscription fees, this thermostat delivers.