Luxury kitchen lighting isn’t just about brightness, it’s about creating a space that feels intentional, layered, and impressive. The right fixtures change how a kitchen functions at 6 a.m. and how it feels when hosting at 8 p.m. Quality lighting transforms workspaces into showpieces without sacrificing task performance. It requires planning: knowing where shadows fall, understanding beam angles, and choosing fixtures that match both the architecture and the workflow. This guide walks through what separates luxury lighting from standard overhead cans, which fixtures deliver the most impact, and how to layer light correctly. Whether upgrading an existing space or planning a full remodel, these details make the difference between adequate and exceptional.
Table of Contents
ToggleKey Takeaways
- Luxury kitchen lighting prioritizes material quality, custom design integration, and performance under real working conditions, using high-end materials like brass, hand-blown glass, and forged iron rather than stamped steel alternatives.
- Effective luxury kitchen lighting requires three distinct layers—ambient, task, and accent—each with independent controls, allowing flexibility between cooking (full brightness), entertaining (ambient-only), and late-night access.
- Strategic fixture placement based on counter depth, ceiling height, and cabinetry layout, combined with proper beam angle calculations, eliminates shadows and ensures even illumination across work zones without relying on excessive quantities of lights.
- Quality finishes and materials should coordinate across all visible metals in the kitchen to create a cohesive design language, with choices like unlacquered brass, matte black, or polished nickel reflecting the overall aesthetic.
- Smart lighting technology enables luxury kitchens to achieve multiple functionality levels through dimming, color temperature tuning (2700K to 4000K), and preset scene controls, with professional installation of smart switches and neutral wires essential for reliable operation.
What Makes Kitchen Lighting ‘Luxury’?
The term “luxury” in kitchen lighting refers to more than price tags, it’s about material quality, custom integration, and performance under real working conditions.
High-end fixtures use solid brass, hand-blown glass, or forged iron rather than stamped steel and plastic diffusers. These materials age better, resist corrosion from kitchen humidity, and provide weight and substance that cheaper alternatives lack. Finish quality matters: brushed nickel should show fine, consistent grain lines, not a sprayed-on coating that chips at the first bump.
Luxury lighting also involves intentional design collaboration. These systems often require coordination with an electrician, designer, and sometimes a lighting consultant to map task zones, accent areas, and ambient coverage. Fixtures get placed based on counter depth, ceiling height, and cabinetry layout, not just centered in the room.
Dimmers, color temperature control, and zoning separate luxury setups from basic switches. Many homeowners implementing high-end design techniques integrate lighting controls that adjust warmth and intensity for different times of day or activities. A fixture running at 2700K creates warmth during dinner: the same fixture at 3500K provides clarity for meal prep.
Finally, luxury lighting minimizes glare and eliminates dark corners. Poorly placed recessed cans create shadows exactly where you’re chopping or reading recipes. Quality installations use beam spread calculations and fixture spacing that ensures even coverage without hot spots. It’s not about more lights, it’s about smarter placement and better optics.
Types of Luxury Kitchen Lighting Fixtures
Statement Chandeliers and Pendants
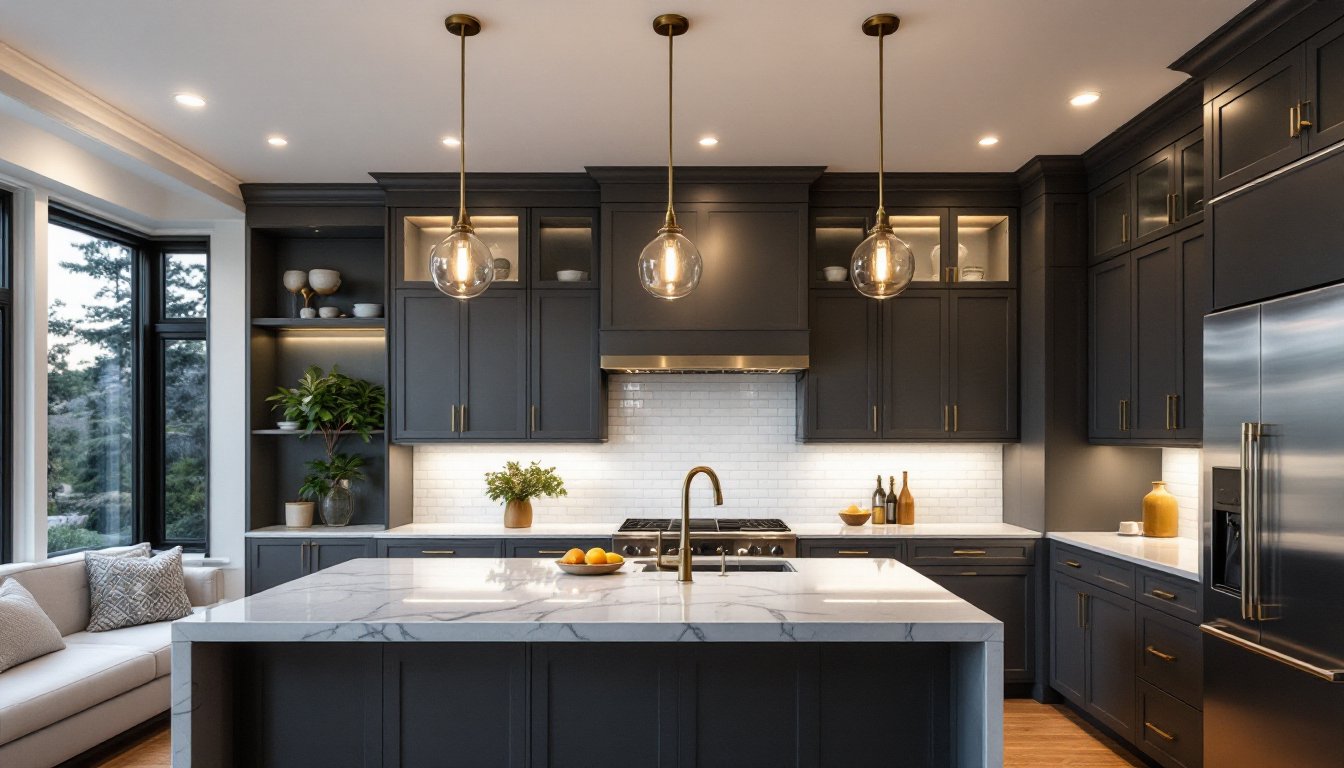
Pendants and chandeliers deliver visual impact while providing focused light over islands, peninsulas, or dining areas within the kitchen. In luxury installations, these aren’t afterthoughts, they’re anchors.
Island pendants typically hang in sets of two or three, spaced 30–36 inches apart, with the bottom of the shade sitting 30–36 inches above the counter. For an 8-foot island, three medium pendants (10–14 inches diameter) balance better than two oversized ones. Materials like mouth-blown glass, hammered copper, or alabaster add texture and diffuse light without harsh shadows.
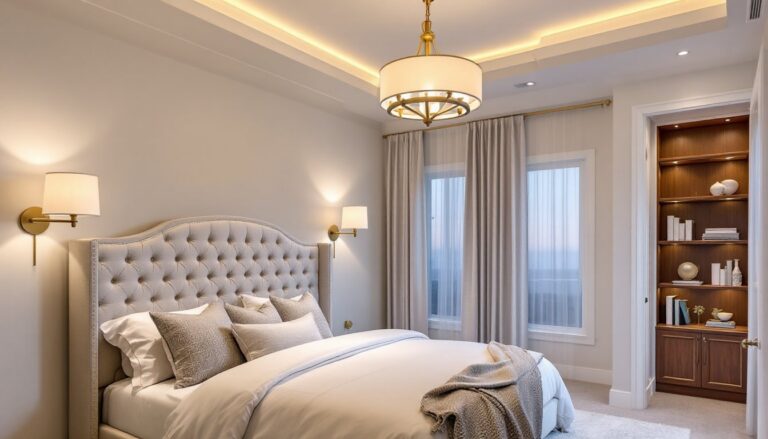
Chandeliers work in kitchens with ceiling heights of 9 feet or more. For lower ceilings, choose fixtures with a shallow profile or semi-flush mounts. A chandelier in a kitchen needs to handle grease and steam better than one in a dining room, look for finishes labeled lacquered or sealed rather than raw brass or unsealed bronze.
Avoid chandeliers with upward-facing bulbs in kitchens: they collect dust and grease. Downward or enclosed bulbs stay cleaner and direct light where it’s needed. Designers often incorporate these fixtures into broader luxury home design concepts that balance form with everyday practicality.
Recessed and Track Lighting Systems
Recessed lights (also called can lights or downlights) form the backbone of functional kitchen lighting. Luxury recessed systems use adjustable trims, allowing the beam to angle toward work surfaces or cabinetry instead of straight down.
Standard 6-inch recessed housings work for general ambient light, but 4-inch or 3-inch units provide better control in task zones. Install cans 18–24 inches from the face of upper cabinets to eliminate shadows on countertops, centering them in the room leaves counters dim.
IC-rated (Insulation Contact) housings are required when insulation touches the fixture: airtight-rated cans prevent conditioned air from leaking into the attic. Both matter in energy-efficient builds or remodels aiming for code compliance under the International Residential Code (IRC).
Track lighting has evolved beyond the utilitarian rail systems of the past. Modern luxury track uses low-voltage monorail or cable systems with sleek heads that pivot 350 degrees. These systems excel at accent lighting, highlighting open shelving, glass-front cabinets, or statement backsplashes, while keeping the ceiling plane clean. Choose LED track heads with a CRI (Color Rendering Index) of 90+ to accurately render food colors and finishes. Many track systems integrate into smart home setups used in upscale properties.
Layering Light for Maximum Impact
Luxury kitchens use three layers of light: ambient, task, and accent. Single-source lighting, one ceiling fixture trying to do everything, creates a flat, institutional feel.
Ambient (general) lighting provides overall illumination. Recessed cans on a grid, a central chandelier, or flush-mount fixtures handle this layer. Aim for 30–40 lumens per square foot in a kitchen. For a 200-square-foot kitchen, that’s 6,000–8,000 lumens total across all ambient sources.
Task lighting focuses on work zones: counters, sinks, ranges, and islands. Under-cabinet LED strips are standard, but luxury setups use puck lights or linear fixtures with diffusers that eliminate the dotted light effect of cheaper strips. Mount under-cabinet lights toward the front edge of the cabinet, not the back, so light reaches the counter without glare in your eyes. Pendant lights over islands double as task sources when placed correctly.
Accent lighting adds drama. Picture lights above open shelving, toe-kick LEDs, or in-cabinet lighting for glass-front uppers all contribute to this layer. Accent lights should be one-third the intensity of ambient lighting, too bright and they compete instead of complement.
Each layer needs its own switch or dimmer. Controlling them independently allows flexibility: full brightness for cooking, ambient-only for entertaining, or accent-only for late-night access. Many exclusive properties integrate scene-based controls where a single button activates a pre-set combination.
A common mistake: overlighting. More fixtures don’t equal better results. Overlapping beams waste energy and create glare. Use a lighting plan, sketch your layout, calculate lumens per zone, and test before finalizing placement.
Choosing the Right Finishes and Materials
Finishes tie lighting into the broader design language. In luxury kitchens, every visible metal, faucets, cabinet pulls, appliance trim, and light fixtures, should relate, though they don’t need to match exactly.
Unlacquered brass and bronze develop a natural patina over time. This living finish suits traditional or transitional styles but requires acceptance of tarnish as part of the aesthetic. Sealed or lacquered versions maintain shine but lose the aged character. Polished nickel offers warmth without the maintenance demands of unlacquered metals. Matte black remains popular for modern and industrial kitchens, though it shows fingerprints and water spots more than brushed finishes.
Aged or antique finishes often use a dark wax or chemical treatment to simulate years of use. These work well in farmhouse or French country kitchens but can look forced in sleek contemporary spaces. Chrome and polished stainless reflect light and suit minimalist designs, though they require frequent cleaning in high-use areas.
For glass elements, clear glass maximizes light output but exposes the bulb, requiring decorative filament LEDs or low-wattage Edison bulbs. Frosted, seeded, or ribbed glass diffuses light and hides the bulb, creating a softer glow. Colored glass, amber, smoke, or blue, adds personality but changes the color temperature of the light: test before committing.
Crystal and cut glass pendants or chandeliers refract light into prismatic patterns. They suit formal kitchens but collect grease faster than smooth surfaces. Budget time for monthly cleaning if choosing these.
Wood and woven materials (rattan, rope, wicker) bring texture and warmth but work best for ambient or accent fixtures, not task lights. They diffuse light unevenly and can be fire hazards if bulbs exceed recommended wattages. Always use LED bulbs in enclosed or semi-enclosed fixtures, they run cooler than incandescents or halogens.
Smart Lighting Technology for Modern Luxury Kitchens
Smart lighting controls have moved from novelty to expectation in luxury kitchens. They offer convenience, energy savings, and design flexibility that traditional switches can’t match.
Dimming and color tuning allow one fixture to serve multiple roles. A pendant over an island can run at 100% brightness and 4000K during meal prep, then dim to 30% and 2400K for evening ambiance. Circadian lighting systems automatically adjust color temperature throughout the day, supporting natural wake-sleep cycles. Systems like Lutron, Control4, or Savant integrate lighting with other home automation but require professional installation and programming.
Wireless controls and voice integration (Alexa, Google Assistant, Apple HomeKit) let users adjust lights hands-free, useful when hands are full of ingredients or covered in flour. Sensors add another layer: motion-activated under-cabinet lights that trigger when someone approaches the counter, or occupancy sensors that turn off recessed lights after the room empties.
Zoning and scenes simplify complex setups. Instead of five separate dimmer switches, a single touchpad calls up pre-programmed scenes: “Morning” (bright task and ambient), “Cooking” (full task, medium ambient, no accent), “Entertaining” (low ambient, accent only), or “Cleaning” (everything at 100%). Programming these requires upfront planning but pays off in daily use.
Smart bulbs (Philips Hue, LIFX, Nanoleaf) offer a lower-cost entry point without rewiring. They screw into standard sockets and connect via Wi-Fi or Zigbee. The tradeoff: each bulb needs power, so the physical switch must stay on, confusing for guests or family members. For a true luxury setup, install smart switches or dimmers that control dumb (non-smart) LED bulbs. This approach looks cleaner, costs less long-term, and doesn’t fail when a bulb firmware glitches.
Energy monitoring features in some systems track usage and cost, useful for tracking the impact of a lighting upgrade. Modern LEDs draw so little power that savings aren’t dramatic, but the data helps justify premium fixtures.
Finally, smart lighting requires planning during rough-in. Neutral wires (often missing in older homes) are mandatory for most smart switches. If walls are open during a remodel, run Cat6 or dedicated low-voltage wiring for control panels and sensors. A qualified electrician familiar with automation systems should handle this work, improper installation causes flickering, buzzing, or system failures down the line. For those exploring cutting-edge home technologies, smart lighting forms a foundational layer that enhances both usability and value.
Bringing It Together
Luxury kitchen lighting requires upfront investment, in fixtures, planning, and often professional installation, but transforms how a kitchen looks and performs. It starts with understanding the difference between commodity and quality materials, then layering light types intentionally rather than defaulting to builder-grade recessed cans. Smart controls and well-chosen finishes future-proof the space, adapting to changing needs and styles. Done right, lighting becomes the invisible infrastructure that makes everything else in the kitchen shine.